Interior Painting Tips for Beginners (2026 Guide)
You’ve bought the paint, borrowed a ladder from your neighbour, and you’re standing in the middle of your living room wondering where to even start. Sound familiar? Good interior painting tips for beginners aren’t really about fancy techniques — they’re about avoiding the small mistakes that turn a weekend project into a two-week headache.
I’ve painted a few rooms myself over the years, and honestly, the first one was a disaster. Paint on the ceiling fan, roller marks everywhere, a skirting board that never quite recovered. So this isn’t theory from a textbook — it’s the stuff I wish someone had told me before I started. Whether you’re doing a single accent wall or the whole flat, in 2026 there’s really no excuse to make the same rookie errors most first-timers make.
Why Preparation Matters More Than the Paint Itself
Featured answer: Proper wall preparation — cleaning, filling cracks, sanding, and taping — determines 80% of how good your final paint job looks. Skipping prep is the single biggest reason beginner paint jobs look patchy or unfinished.
People rush straight to the “fun part” — actually painting — and skip prep entirely. That’s a mistake I made too, and it showed. Every hairline crack, every bit of dust, every old nail hole becomes painfully obvious once the wall has a fresh coat on it.
Before anything else, wipe the walls down with a damp cloth to remove dust and cobwebs. Fill any cracks or holes with a wall putty (POP or plaster of paris works fine for small ones), let it dry fully, then sand it smooth. Skipping the sanding step is tempting when you’re impatient — don’t.
Choosing the Right Interior Painting Tips for Tools and Supplies
Not all rollers are equal, and this genuinely surprised me the first time around.
- A 9-inch roller with a medium nap is fine for most flat walls
- Use a 2-3 inch angled brush for corners, edges, and trim work
- Painter’s tape (not regular masking tape — it peels cleaner)
- A paint tray with a grid, so you’re not overloading the roller
- Drop cloths or old newspapers — genuinely, cover everything, even the fan blades
Cheap rollers shed little fibres onto the wall as you paint. It’s annoying and honestly avoidable for the ₹150-200 difference between a decent one and a bargain-bin one.
How Much Paint Do You Actually Need?
This trips up almost every beginner. Too little and you’re stuck mid-wall waiting for a second trip to the shop; too much and you’ve wasted money.
Featured answer: As a rough rule, one litre of emulsion paint covers roughly 120-140 square feet for a single coat. Most rooms need two coats, so divide your total wall area by 60-70 to estimate litres needed per coat.
Measure your wall area (height × width, then subtract windows and doors) before you buy. A standard 10×10 ft bedroom in an Indian apartment usually needs around 3-4 litres for two coats, give or take.
Painting Technique: The “W” Method
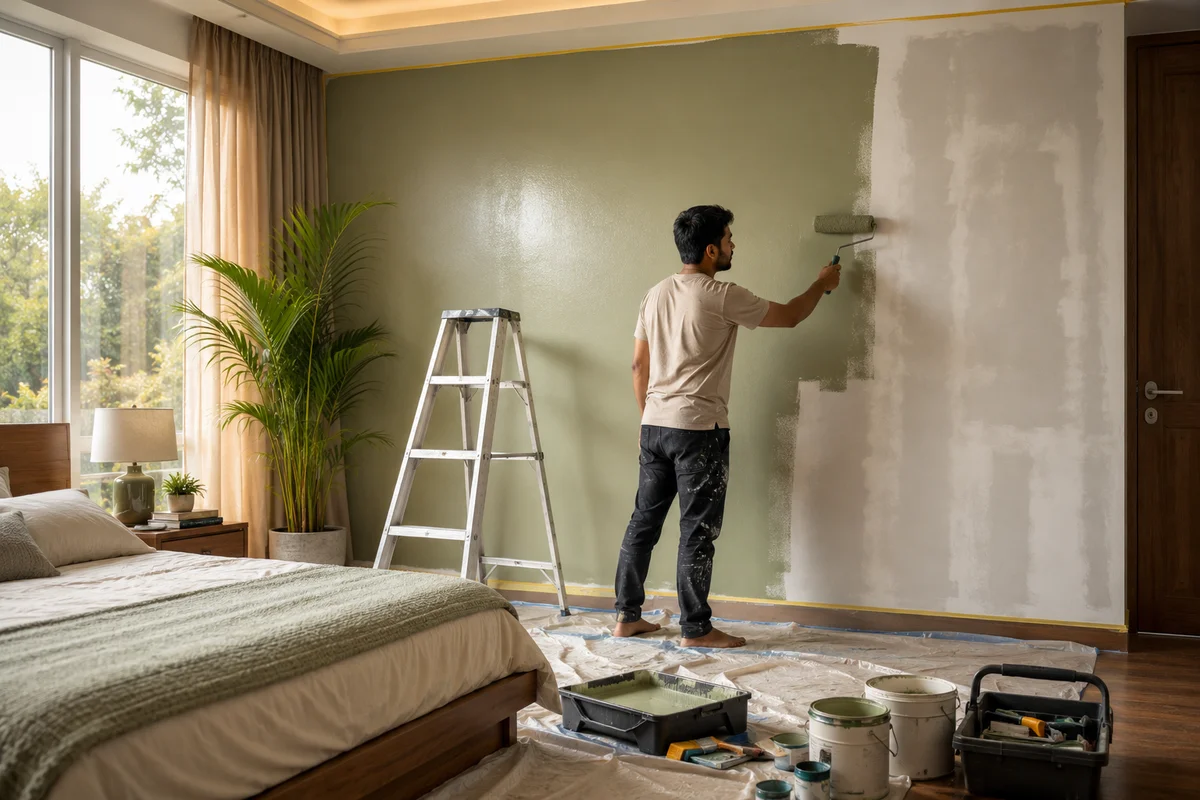
Here’s a tip that actually changed my results — paint in a rough “W” or “M” shape with the roller, then fill in the gaps, rather than going straight up and down in single strokes. It spreads the paint more evenly and avoids those visible roller lines.
Load the roller, don’t overload it, and always work from a dry area into a wet edge — never the other way round, or you’ll get patchy overlap marks.
Order of Operations: What to Paint First
- Ceiling (if you’re doing it) — always first, gravity’s not on your side otherwise
- Walls — top to bottom, one wall at a time
- Trim, doors, and skirting — last, once the walls are fully dry
Doing this in the wrong order is a classic beginner mistake. Paint the trim first and you’ll end up with wall-colour splatter all over your nice white skirting board.
Common Beginner Mistakes to Avoid
- Not letting the first coat dry fully before applying the second (check the tin — usually 4-6 hours minimum)
- Painting in direct sunlight through a window, which dries the paint too fast and leaves lap marks
- Forgetting to stir the paint properly before starting — settled pigment gives uneven colour
- Removing painter’s tape too late, once the paint has fully cured (peel it while still slightly tacky)
- Ignoring ventilation — keep a fan running and windows open, especially with oil-based paints
Dealing with Humidity and Weather
Monsoon season is genuinely the worst time to paint interiors in most parts of India. High humidity slows drying dramatically and can cause the paint to look dull or blotchy.
Picture a small business owner in Jaipur trying to repaint their shop interior in July — the paint takes almost double the usual drying time, and the finish ends up tacky for days. If you can, plan interior painting jobs for the drier months, or at minimum run a dehumidifier or fan continuously.
[link to related guide on choosing the right paint finish here]
Cleaning Up and Aftercare
Don’t just abandon your brushes and rollers in a bucket of water overnight — clean them properly the same day, or they’ll harden and you’ll be buying new ones next time.
For water-based emulsion, warm soapy water does the job. For oil-based paints, you’ll need a proper thinner or turpentine. Once the walls are painted, avoid touching or wiping them for at least a week — the paint is technically dry to touch within hours, but it takes longer to fully cure.
[link to related guide on how to remove paint smell from a freshly painted room here]
FAQ: Common Questions About Interior Painting for Beginners
How many coats of paint do I need for interior walls? Two coats is standard for most colours, especially if you’re painting over a darker existing shade. A single coat rarely gives even, opaque coverage.
Can I paint over wallpaper? Technically yes, but it’s risky — the wallpaper can bubble or peel later. Removing it first is the safer bet if you have the time.
Do I need to prime the walls before painting? If the wall is freshly plastered or a very different colour from what you’re applying, yes. Skipping primer on raw plaster often leads to patchy, uneven colour absorption.
How long should I wait between coats? Usually 4-6 hours for water-based emulsion, though humid weather can push this to 8+ hours. Check the tin’s instructions since drying times vary by brand.
Is it cheaper to paint a room myself or hire a professional? DIY generally saves 40-50% on labour cost, but factor in tools you’ll need to buy and the time involved — for a single small room, DIY makes sense; for a whole flat, professionals are often worth it.
What’s the biggest mistake first-time painters make? Rushing prep work. Nearly every visible flaw in a beginner paint job traces back to skipped sanding, dust, or unfilled cracks rather than the actual painting.
[link to related guide on how much paint you’ll need calculator here]
Wrapping It Up
Getting good at interior painting isn’t about talent — it’s about patience and not skipping steps. Prep your walls properly, use the right tools, paint in the correct order, and give things time to dry. These interior painting tips aren’t complicated, but ignoring even one of them is usually where beginner paint jobs go wrong.
If you’re planning your first paint project this year, start small — one wall or one room — before tackling the whole house. You’ll learn more from that one wall than any guide, including this one, can teach you.